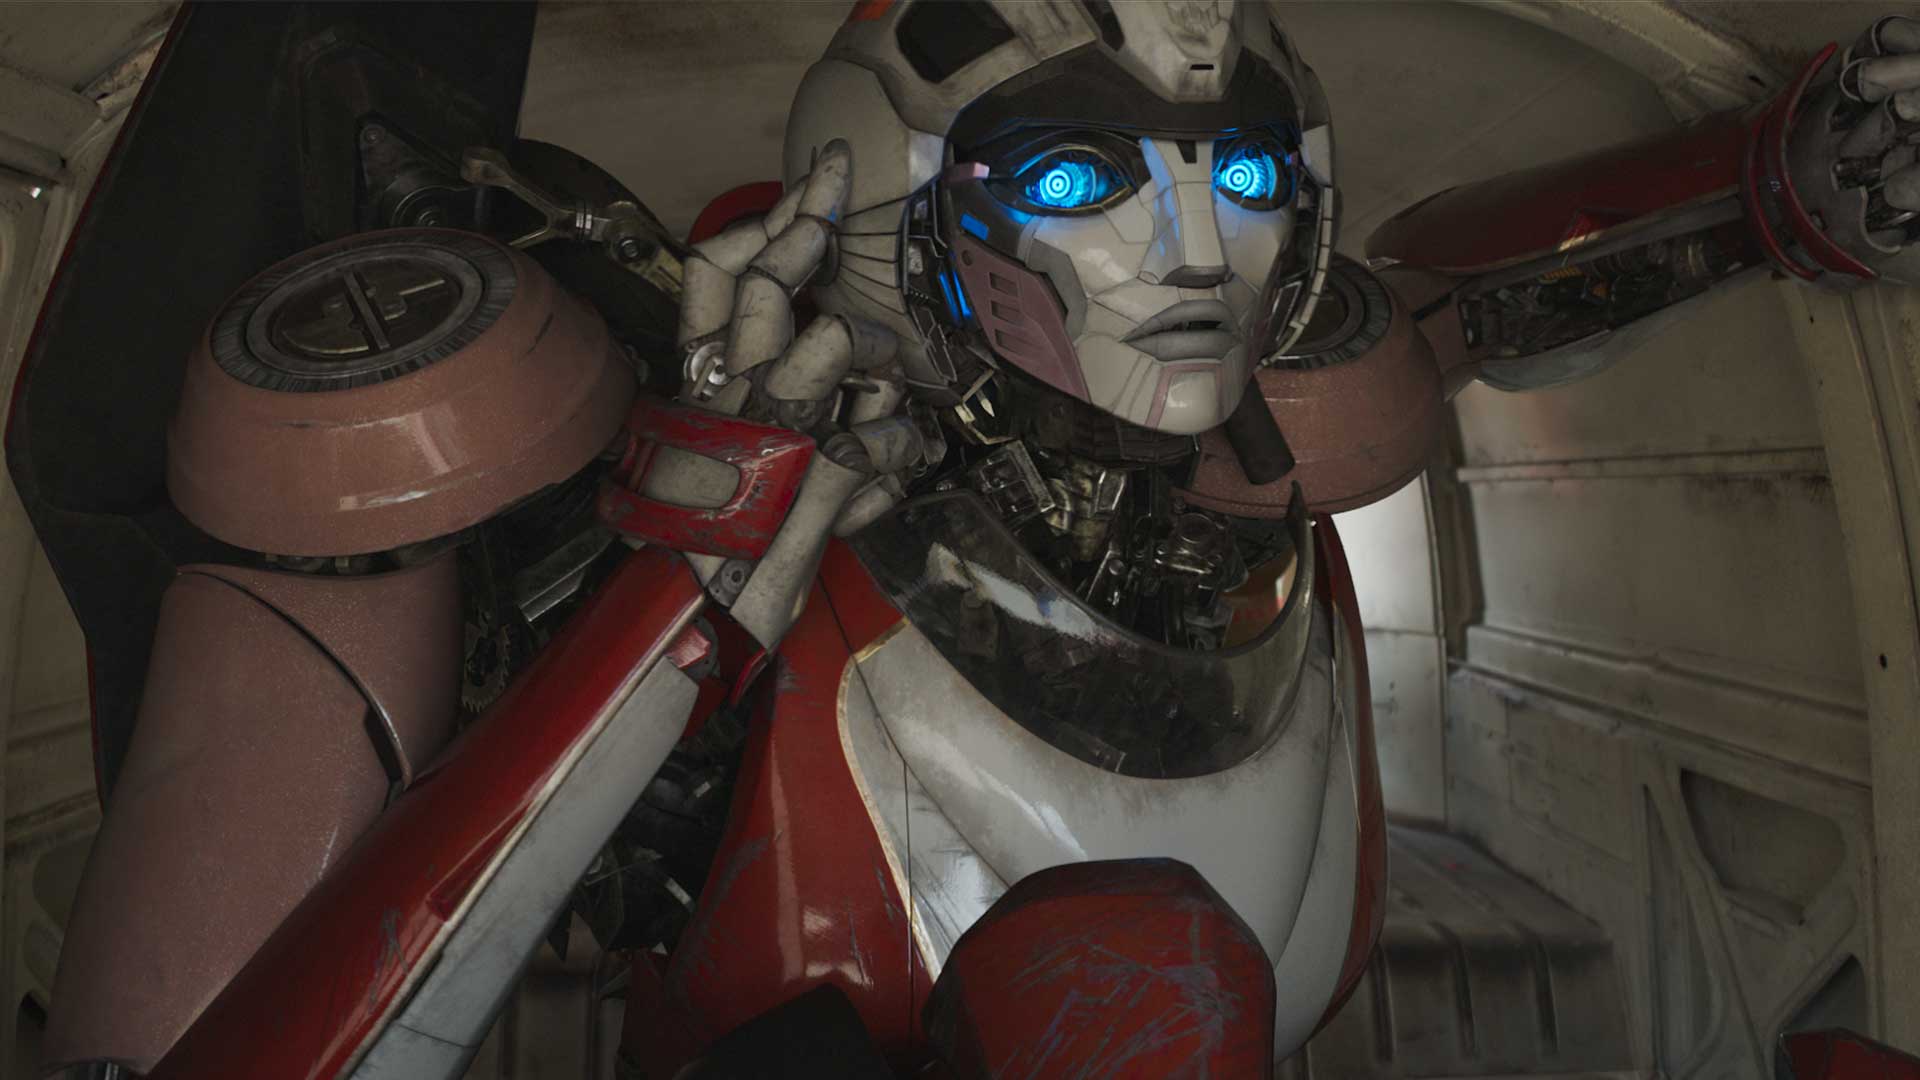
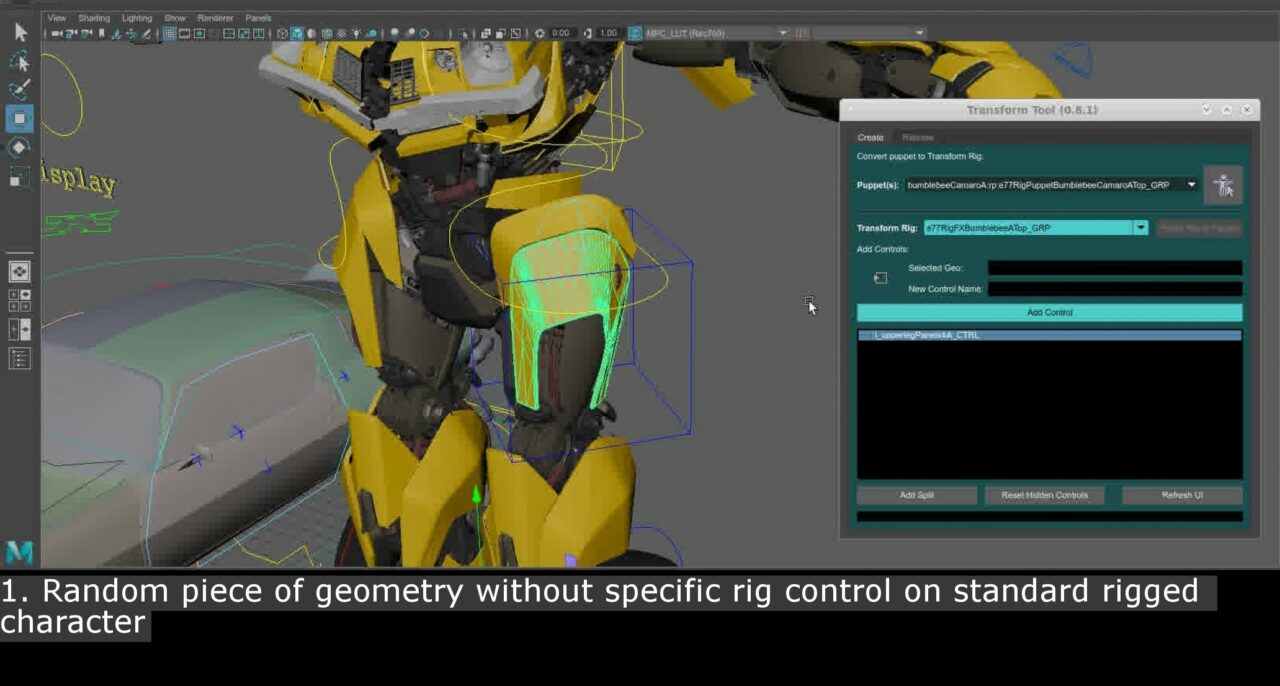
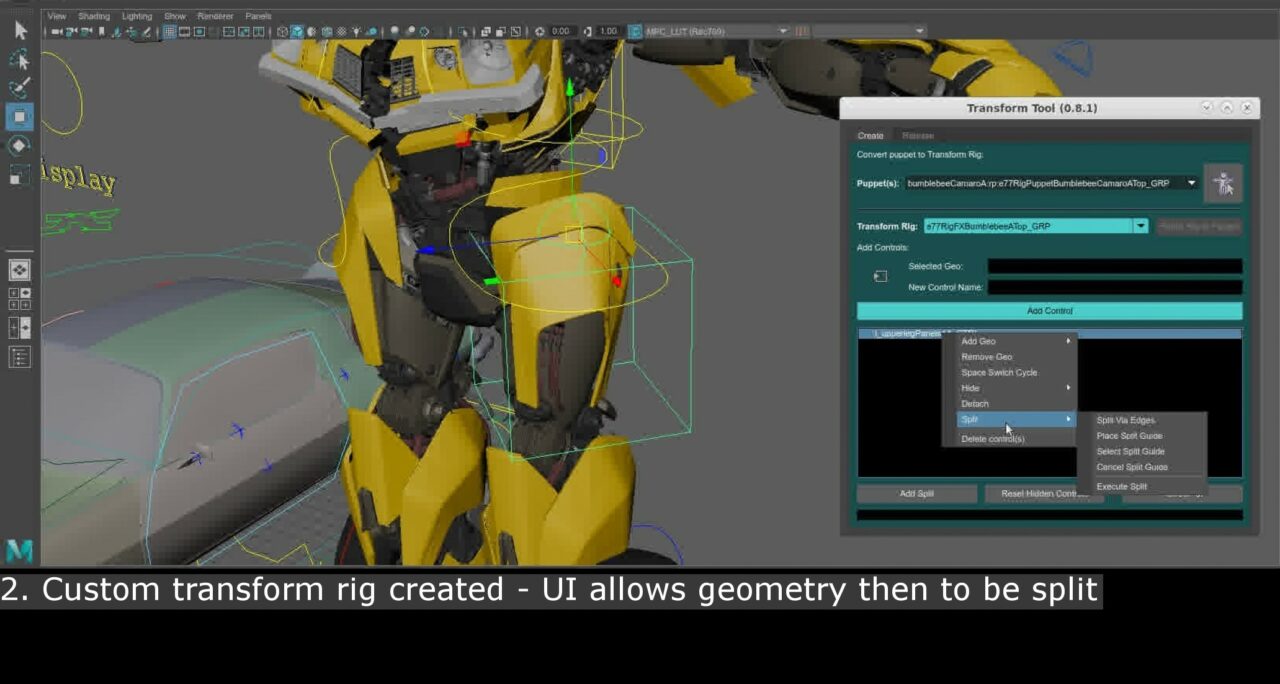
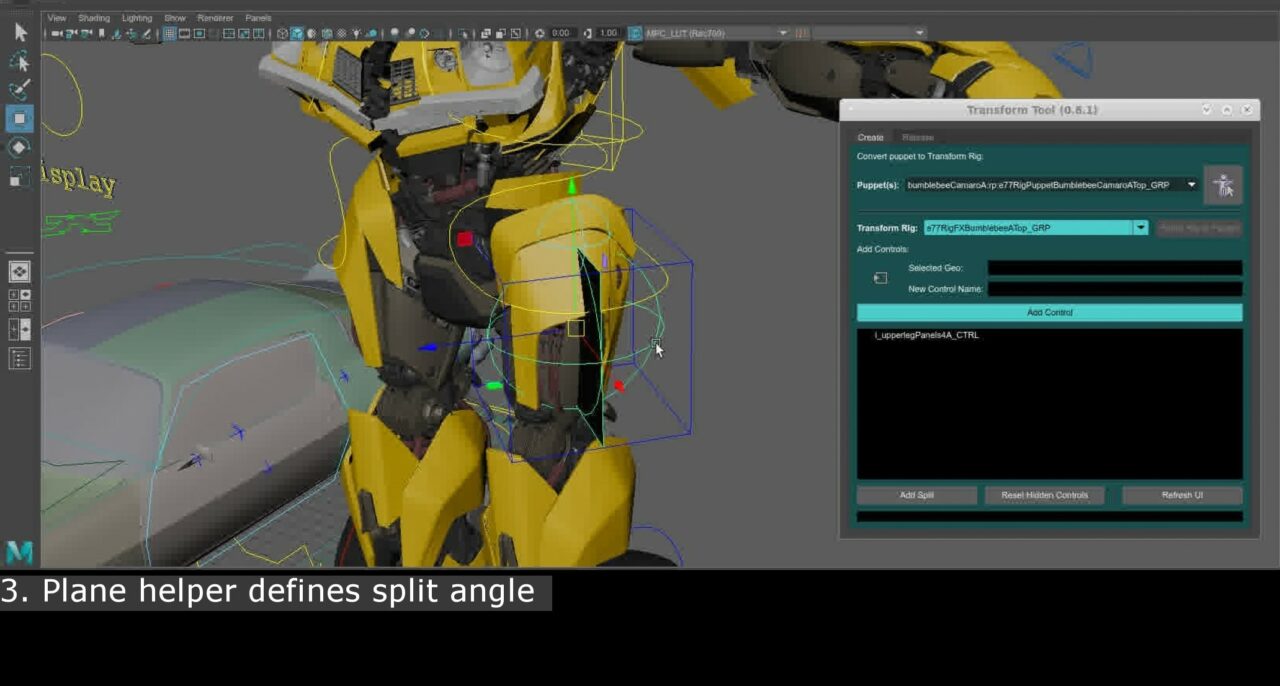
Some of the most visually interesting aspects of any Transformers film are its transformation shots, where any given character might change into some type of vehicle, or in this case, beast! In order to accomplish this, MPC developed a new propriety transformation tool and workflow that allowed animators to slice, separate, and transform geometry on a model, in any given shot, on any asset. This was a new project for MPC that challenged its visual effects workflow and became a joint effort between multiple departments.
Author – Erik Gonzalez
One of the core concepts of a transformation shot is that the asset in use essentially goes through a destructive process of being changed and modified on a polygonal level. For example, one door panel that has 6 faces, can be broken up into 3 more panels – each containing more faces than the original model, not just for added movement and complexity, but also edges and bevels on newly created edges of a surface. This concept would be the main challenge in the core development of the tool, since many VFX workflows rely on an asset that is consistently the same number of polygonal faces and vertices. When an asset is not a changing fact, it is much easier to have multiple departments working with it in a parallel timeline.
In order to get around this issue, the development team worked on a process whereby, when the animation team started on a transformation shot, the shot’s assets would be “locked” – preventing it from receiving updates on a build asset level, and only on a shot level would animation caches be pushed to the other departments involved. This was a crucial but tricky step to put in place, as many automated aspects of the pipeline would be reliant on validating that the model version of the asset used in a given shot, was compatible with changes that may be happening on a build level to that model. Locking the shot’s assets, meant essentially freezing the shot components so that they would now be able to be worked on safely, without trying to revert back to the build level for updates. Careful consideration was needed to exact when we would do transformation work in animation for final, since if an asset was heavily in progress for model/texture/lookdev/rigging, it would be best to wait until these stages were completed as best needed for any shot in question. The entire process would not only need to be considered for the robot version, but also the destination asset – such as the vehicle or beast.
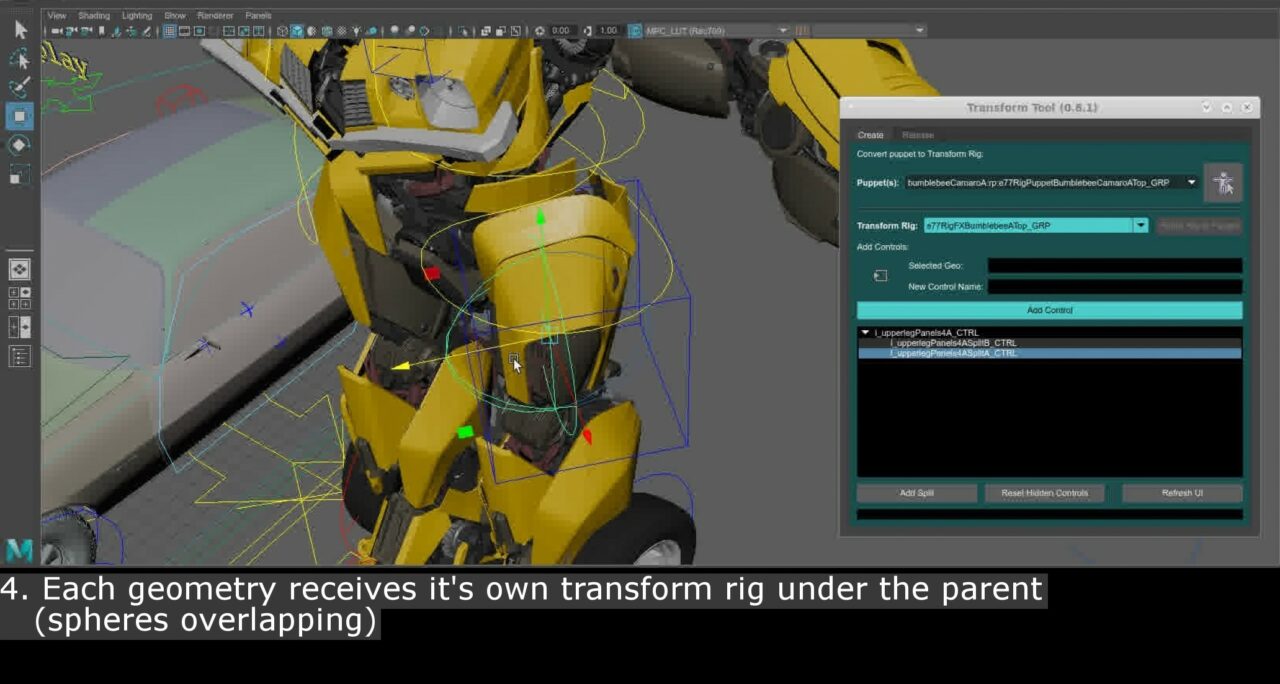
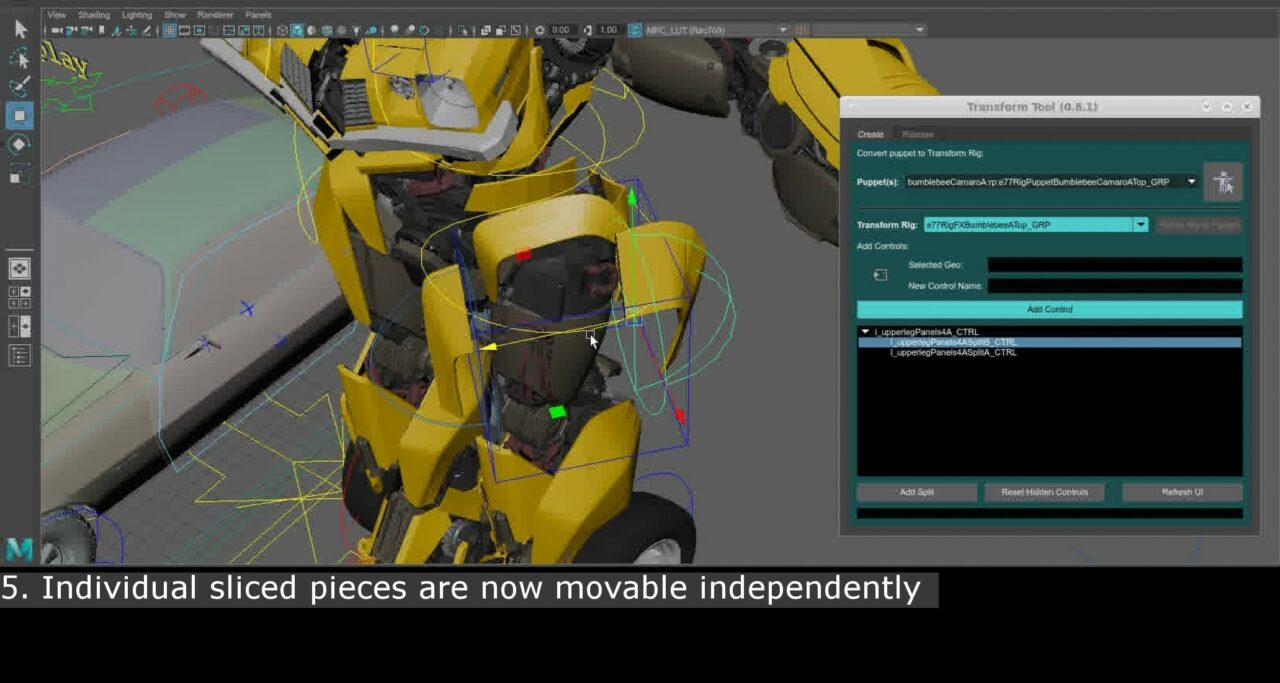
Once a transformation shot was prepped to begin animation work, the green light would be given from the CG Supervisors for the locking of the shot, and the creative choreographing of the transformation would begin. Blocking passes from animation would start, where the gross volume of mass would be figured out between the transitions of source and destination. Once this worked for overall timing, then the more detailed animation passes would begin, and the transformation tool would really be utilized for every slice, dice, offset, and separation requirement. An animator would then be able to select any given piece of geometry, and the tool would split it along an existing edge line. The resulting faces would be given its own “mini-rig” where it could be moved independently of the surface it was split from. This could, and would in some shots, be done many, many times across the character or vehicle. Luckily, this slicing and dicing process was done to camera in most situations, and creative liberties were taken to be very specific where complexity was added to get the most impressive shifting and moving of pieces where the viewer would be looking.
In some situations, the assets would be sliced and diced so much that, despite having assets with a base level of incredible model detail already, we found we needed to add more model pieces such as engine internals or any geometry that would be pick up the light in such a way that it would add that visual glint that helped sell the realism of the shot. We maintained a library of random mechanical pieces just for this use, and the addition of these components would follow the same workflow as the main asset.
Another key component of this visual magic trick was the visibility of parts of the model that would be hidden through the transformation animation. Whole parts of an arm, leg, or vehicle fender would be able to be turned off frame to frame in order to transition to the destination object. Visibility control, and passthrough to the render scene, was handled through culling primvars that were defined early on between departments. With such a highly detailed model with thousands of pieces involved, the passthrough of visibility information from rig puppet versions to final cached models was no trivial matter.
Caching the render geometry based on the system of newly created objects each with their own mini-rigs was also a challenge the development team met. The rigFX pipeline, used by our Tech Anim team, was adopted to be able to generate a path to caching shot specific geometry, where our usual rig caching system was based entirely on one rig, one build, to rule them all! The benefit of this was that, while we heard in past projects the TechAnim team was more involved in constraining/pinning transformation geometry to help patch fix areas, our TechAnim team was free to focus on other non-transformation shots and any intersection fix could be handled by the animator themselves through the transformation tool itself, through the freedom of adding a mini rig to any given piece of geometry.
When a transformation animation was ready to be published to be rendered, it would be passed to a skilled team of Animation Mechanic TDs who would debug/check and QC renders out of RenderMan in Katana to ensure that geometrically, everything matched up to the animation daily. This was no small feat either, as there was a learning curve for the teams in the use of this tool when we started. Along the way, best practices were developed in tandem with the animation team to figure out the boundaries of the tools, and any successes we had in the process was due to a collaborative nature between everyone involved.
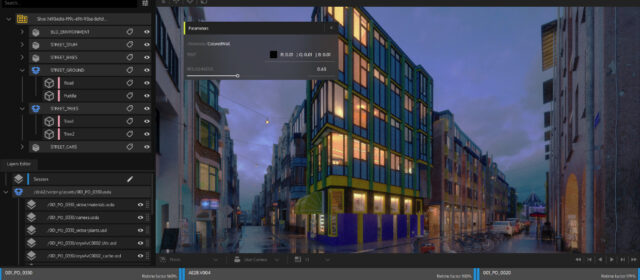
When it came to lookdev/texture considerations for the new geometry, there were also many considerations by the lookdev and lighting teams. Surfaces that were split did maintain UV coordinates, so textures could be maintained, so long as the geometry was not flipped or broken in such a way through the transformation. Material assignments from lookdev were also maintained for the most part due to an efficient workflow of keeping material assignments driven at the highest level of an asset, and texture variation driving looks in the shader. This meant that newly formed geometry would always inherit the material assignments in Katana, and based on a material ID naming convention, could still be targeted for the cases where an orphan piece of geometry somehow did not automatically pick up a shader assignment. The transformation tool would also add a specific suffix naming convention to new geometry as well, for example new edges on split surfaces, so tools were in place to be able to account for new geometry and check they were renderable. The assets themselves had several thousand pieces of geometry, and so leveraging more automatic processes for these steps was crucial to being able to work efficiently, limiting need for human intervention where we could.
In the end, the process was an undertaking that challenged the pipeline, but the human collaboration between departments across the show was the real driver of the success of these shots. Tools are just tools in the end, but the ingenuity from MPC’s team to get these shots working really pushed them past the finish line. Special mention to Thomas Rutter and Batao Yu from our software development team who put a lot of effort under the hood to the technical pipeline processes that got us from A to B. Evelyn Blanchard led the team of Animation Mechanic TDs who helped on the technical side of debugging animation scenes and moving geometry into lighting; as well as Stefan Muller, our Lighting Lead who helped get every new piece of geometry rendered as beautifully as the original. Animation Supervisors helped drive the tool for use with their animation teams early on, and CG Supervisors oversaw development and execution into the final shots. Overall, the process of development spanned over the course of a year and half over the main bulk of production.
VFX Breakdown
